Create a Header for Your Website: A Complete Guide to Site Navigation Design
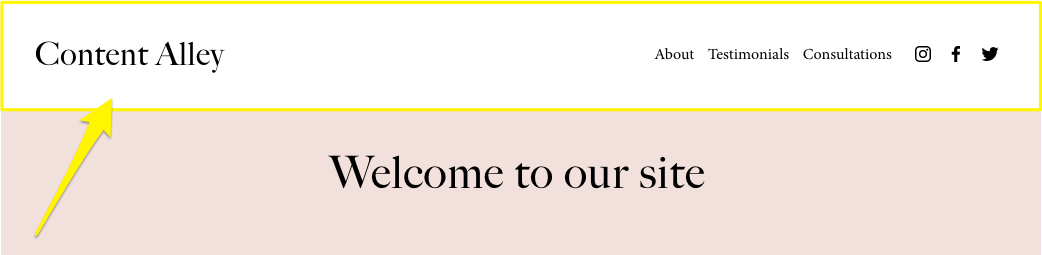
A site header is a crucial navigation element that appears at the top of every page on your website. Here's how to create and customize an effective site header:
Basic Setup
- Access header settings:
- Click [Edit] in top-left corner
- Hover over header and select [Edit Site Header]
- Add site title or logo
- Arrange navigation links by dragging them
- Toggle additional elements like buttons, social icons, and shopping cart
Welcome Text
Desktop Layout Settings
- Switch to Computer view
- Choose layout style
- Set width (Full or Embedded)
- Adjust padding and spacing
- Add effects:
- Drop shadow
- Border
- Background style
- Fixed position
Mobile Layout Settings
- Switch to Mobile view
- Select mobile-specific layout
- Customize menu appearance
- Set font styles
- Adjust overlay settings
Background Styles
Choose from:
- Solid: Single color background
- Gradient: Fades between colors
- Adaptive: Transparent overlay
Additional Features
- Buttons:
- Toggle button visibility
- Edit text and links
- Customize style and placement
- Other Elements:
- Social links
- Shopping cart
- Language switcher
- Account login
- Header Visibility:
- Option to hide on specific pages
- Access through Pages Panel settings
Tips for Effective Headers
- Keep navigation simple and clear
- Ensure mobile responsiveness
- Maintain consistent branding
- Test functionality across devices
- Consider fixed positioning for better user experience
- Optimize for both aesthetic appeal and functionality
Remember that header style options may vary based on your template and platform version. Always preview changes on both desktop and mobile before publishing.
Related Articles

Switch from Marquee to Brine: Template Guide and Migration Steps