Create Your First Squarespace Website: A Complete Step-by-Step Guide
Creating an effective Squarespace website involves three main steps: building structure, adding content, and styling your site.
Building Website Structure
To add pages to navigation:
- Open page menu
- Click + next to Primary Navigation
- Select page type or choose from Page Layouts
- Enter page title
- Set homepage if desired
Adding Content
Use two main content types:
- Blocks: For text, images, buttons (drag-and-drop)
- Collections: For blogs, products, events
To add blocks:
- Open Pages menu
- Select page to edit
- Click Edit
- Click + to add section
- Select desired block
- Arrange by dragging
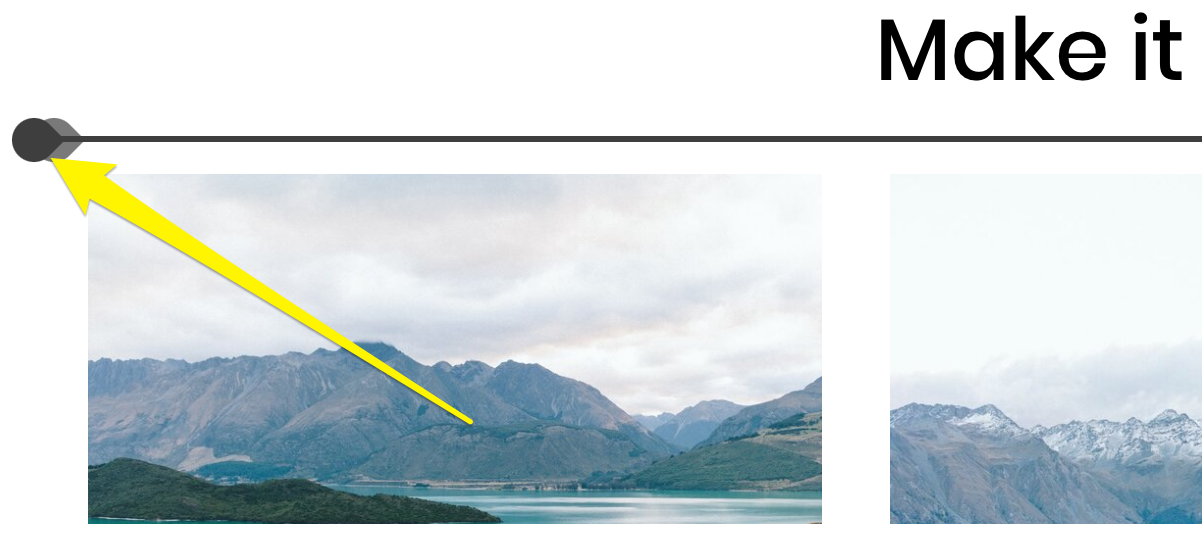
Black line with yellow arrow
Setting Up Key Features
Blog Setup:
- Create blog page
- Click + to add posts
- Add title and content
- Publish when ready
Online Shop Setup:
- Add products
- Connect payment processors
- Configure shipping
- Set tax rates
- Customize checkout
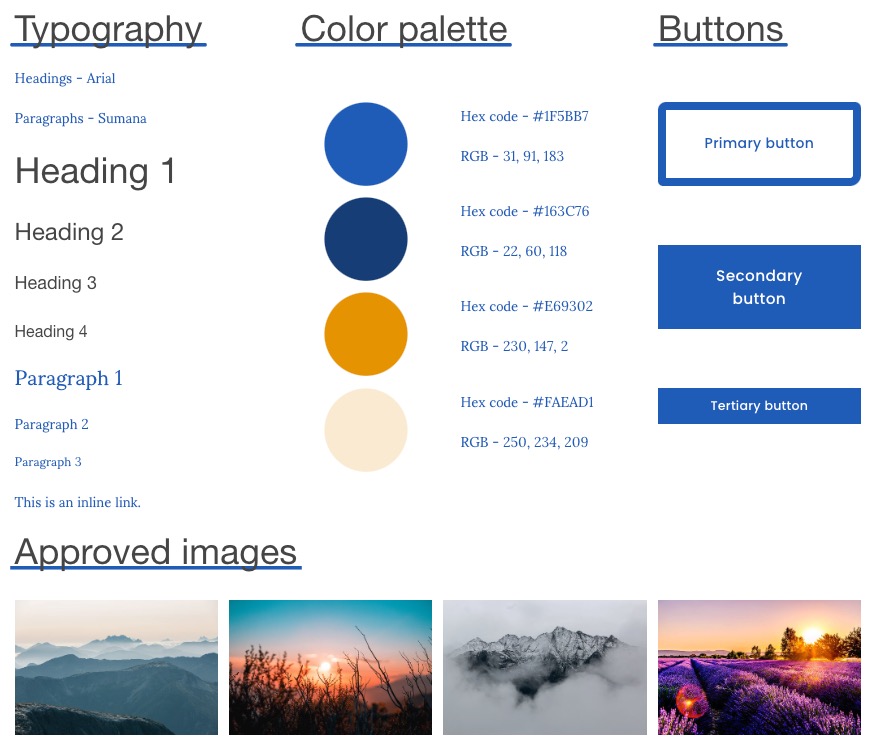
Mountain peak under morning cloud cover
Styling Your Website
Global Style Changes:
- Fonts: Choose packages and text sizes
- Colors: Select palettes and schemes
- Animations: Add movement effects
- Spacing: Adjust padding and margins
Section-Specific Styling:
- Open Pages menu
- Click Edit
- Hover over section
- Click pencil icon
- Customize as needed
Final Steps
Before launching:
- Review Website Launch Checklist
- Upgrade to paid plan if ready
- Test all functionality
- Ensure mobile responsiveness
- Check all links and content
Related Articles

How to Connect a Squarespace Domain to Your Website: Step-by-Step Guide