Guide: Adding Pages to Your Website's Navigation Menu
Customize your site's navigation by adding pages to help visitors explore your content easily. Here's how to do it:
Adding Pages: Computer Method (Version 7.1)
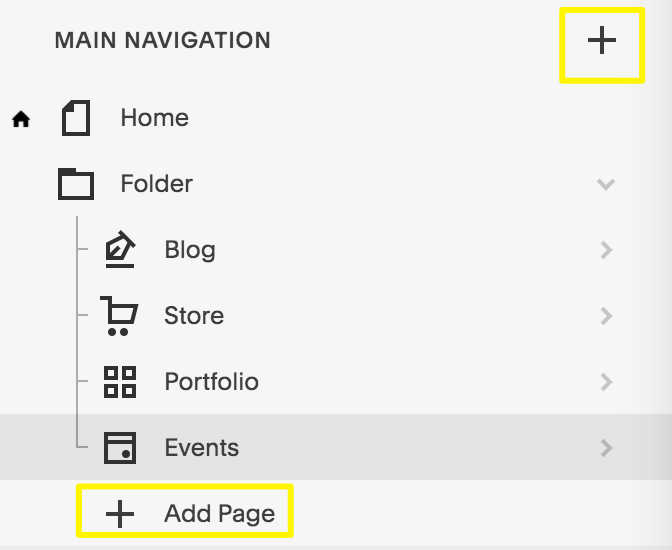
- Open the Pages panel
- Click + next to main navigation
- Select "Blank Page" or choose from preset layouts
- Enter page title and press ENTER

Main navigation menu
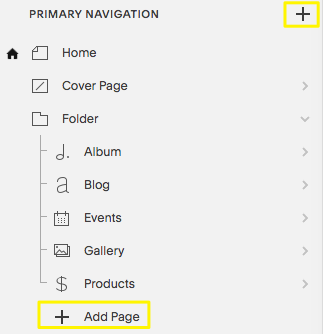
Adding Pages: Computer Method (Version 7.0)
- Open the Pages panel
- Click + next to Main Navigation
- Choose page type
- Enter title and press ENTER

Squarespace navigation menu with button
Mobile App Method
- Tap More > Pages
- Tap + or Add in desired navigation section
- Select page type
- Double-tap to enter page title
Available Page Types
Layout Pages:
- Custom layouts with text, images, forms
- Start blank or use pre-set layouts
- Fully customizable
Collection Pages:
- Blog
- Events
- Portfolio (7.1 only)
- Store/Products
- Album Pages (7.0 only)
- Gallery Pages (7.0 only)
Additional Navigation Features:
- Dropdown menus
- External/internal links
- Member-only pages
- Header/footer visibility options
Mobile App Page Support
Fully Supported:
- Layout Pages
- Online Store
- Blog
- Events
- Gallery (7.0)
Limited Support:
- Portfolio (view only)
- Album Pages (view only)
- Cover Pages (view only)
- Information Pages (view only)
Next Steps:
- Modify page settings using the gear icon
- Reorder pages by dragging in Pages panel
- Delete pages using trash can icon (30-day recovery window)
- Customize navigation styling (fonts, colors)
Pages added to navigation create your site's core structure and help visitors find your content efficiently.
Related Articles

Fonts Discontinued: Important Updates to Available Font Catalog

