How to Add Email Campaign Content: A Complete Guide
Email Campaign Content Guidelines
Create dynamic email campaigns by strategically using content sections to engage your audience. Here's how to add and customize different content types:
Text Sections
- Add text by clicking "Write here..." in the preview
- Format text using the toolbar
- Adjust letter spacing with |A|
- Choose from 4 header styles: Paragraph, Medium, Large, or Extra Large
- Customize colors and padding via sidebar
Image Sections
- Upload up to 4 images per section
- Add alt text for accessibility
- Link images to URLs as needed
- Supports JPG, PNG, and GIF formats

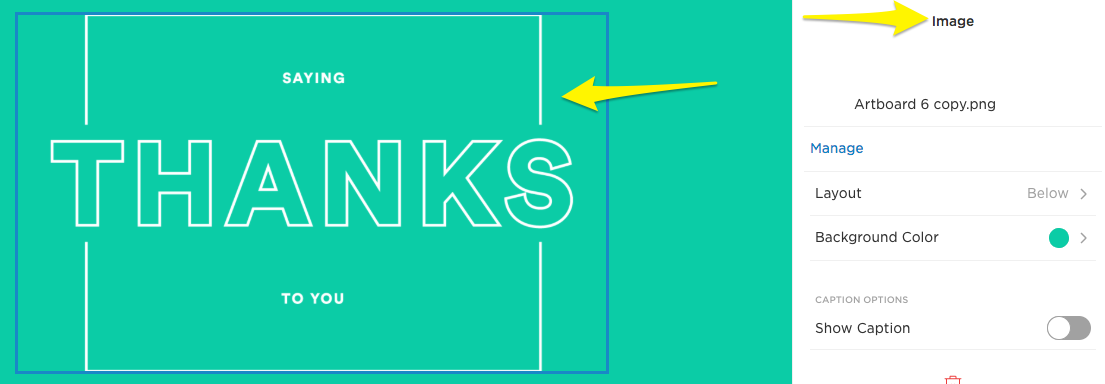
White text on a green background
Button Sections
- Add destination URL in sidebar
- Customize button text and style
- One button per section
- Uses global font settings
Spacing Elements
- Add Spacer sections for whitespace
- Adjust height and background color
- Use Line sections to create dividers
- Customize line style, thickness, and color
Dynamic Content
- Blog Sections: Display up to 7 blog post previews
- Product Sections: Showcase up to 7 store items
- Discount Section: Add existing codes or create new ones
- Customize layouts and display options for each
Adding Links
- Highlight text and click link icon
- Link to internal/external URLs
- Link to email addresses or phone numbers
- Track engagement with query parameters
Best Practices
- Use consistent spacing between sections
- Maintain visual hierarchy with headers
- Include clear calls-to-action
- For videos, use GIFs or linked thumbnails
- Test layout across email clients
- Ensure all links are working
- Preview before sending
Note: Changes made to blog posts or products after adding to campaign won't automatically sync - update manually as needed.
Related Articles

Report Malware: Your Website Launch Checklist to Stay Secure

