Send and Manage Blast Email Campaigns
Before sending an email campaign, ensure you have a mailing list, sender information, and an email draft ready. Verify your email and domain, and follow spam filter prevention best practices.
Essential Pre-Send Checklist:
- Confirm your email
- Verify custom domain (recommended)
- Add physical address to website
- Check monthly campaign limits
- Verify subscriber limits match your plan
Step 1: Configure Email Information
- Navigate to Drafts in Email Marketing dashboard
- Select draft to edit
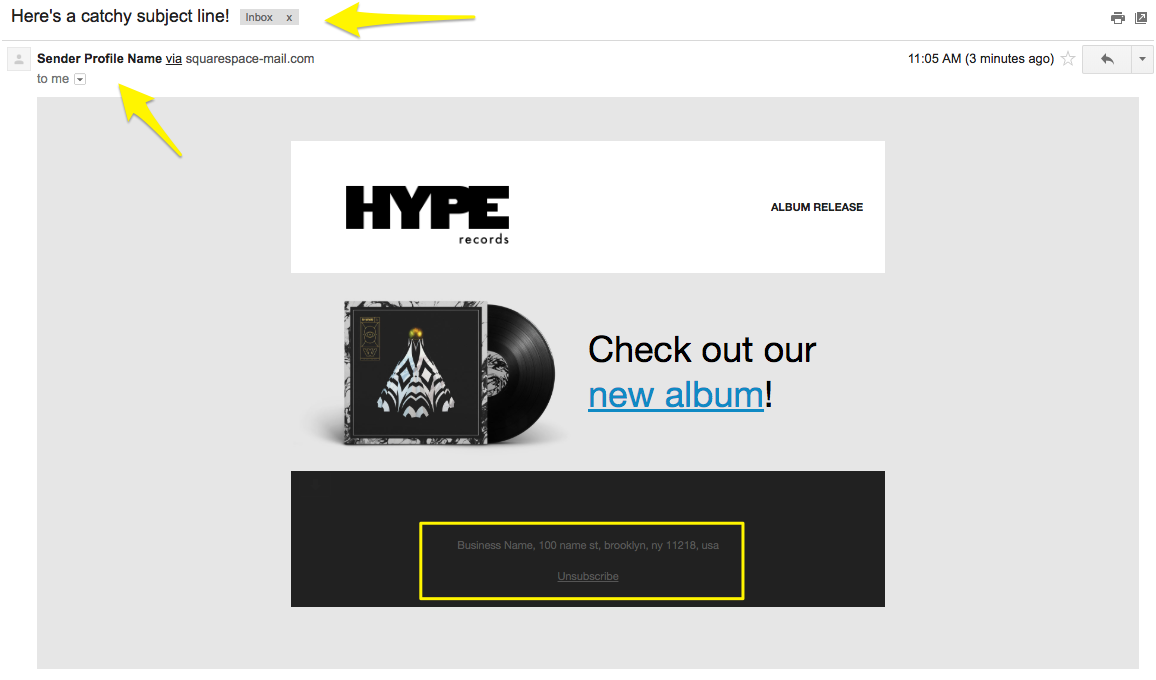
- Add Subject and Preview Text
- Select recipients from mailing lists
- Set sender information
- Add official postal address

Black and white album cover
Step 2: Send Test Email (Recommended)
- Send to personal email address
- Check all links and buttons
- Review for typos
- Verify image display
- Confirm unsubscribe link visibility
- Test on multiple devices
Step 3: Send or Schedule Campaign
Immediate Send:
- Click Schedule
- Enable "Send Immediately"
- Click Send to Recipients
Schedule for Later:
- Click Schedule
- Disable "Send Immediately"
- Select date and time
- Click Schedule Campaign to confirm
Important Notes:
- Campaigns marked "Being Reviewed" undergo standard security checks
- Custom domain verification removes "sqspmail.com" or "via squarespace-mail.com" tags
- Sent campaigns cannot be recalled
- Track campaign performance in Email Marketing dashboard
- Contact support for sending issues rather than resending campaigns
Campaign success can be monitored through open rates, click rates, and other analytics in the Email Marketing dashboard.
Related Articles

How to Set Up and Grow Email Lists with Squarespace Forms

