Complete Guide: Adding OpenTable Integration to Your Website
The OpenTable block allows visitors to make restaurant reservations or join waitlists directly from your website. You'll need an OpenTable Restaurant ID to begin.
Supported Countries:
- Canada
- Germany
- Ireland
- Japan
- Mexico
- United Kingdom
- United States
Available Languages:
- English
- French
- German
- Japanese
- Spanish
How to Add the OpenTable Block:
- Click [Add Block] and select [OpenTable]
- Click the pencil icon to open block editor
- Enter your OpenTable restaurant ID
- Select your country domain
- Choose your language
- Customize design options
- Save changes
Customization Options:
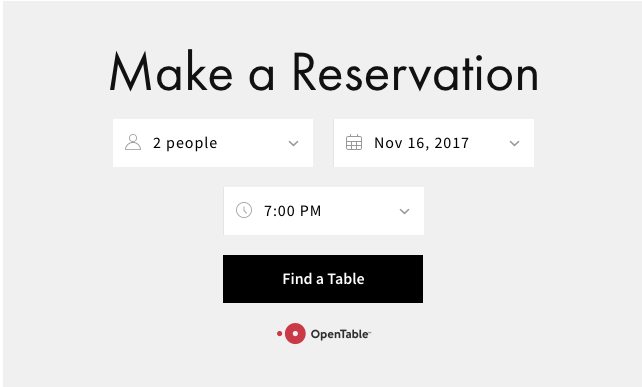
- Hide title ("Make a Reservation" text)
- Hide icons in dropdown menus
- Hide OpenTable logo
- Customize fonts and colors through Site Styles
- Adjust background colors and contrast

Squarespace Reservation Interface
Important Notes:
- Add only one OpenTable block per page
- SSL must be enabled on your domain
- Reservations may be subject to OpenTable fees
- Block may not display correctly while logged in; view in private window
- For restaurants outside supported countries, use a button block with a link to OpenTable or embed code
Styling Tips:
- Fonts can be customized through Site Styles > Fonts > Headings
- Colors can be adjusted through Site Styles > Colors
- Background and text colors automatically adjust for optimal contrast
- Title font follows Heading 3 specifications
For restaurants using waitlists instead of reservations, the block will display a "Sign Up for Waitlist" button rather than "Find a Table."
Consider adding a menu block to complement your reservation system and complete your restaurant's online presence.
Related Articles

Fonts Discontinued: Important Updates to Available Font Catalog

