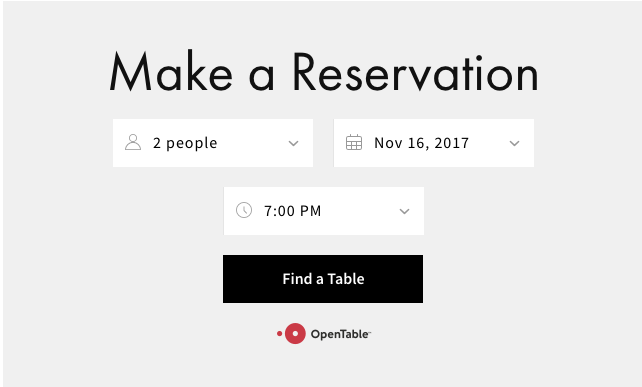
How to Add OpenTable Reservation Blocks to Your Website
Adding OpenTable reservations to your site requires just a few simple steps. Here's how to set it up properly:
Prerequisites:
- Your OpenTable Restaurant ID
- SSL enabled on your domain
- Restaurant located in: Canada, Germany, Ireland, Japan, Mexico, UK, or US
- Available languages: English, French, German, Japanese, Spanish
Adding the OpenTable Block:
- Click "Add Block" and select OpenTable
- Enter your OpenTable restaurant ID
- Select your country domain
- Choose your preferred language
- Customize display options in the Design tab
- Save changes

Book a Table via OpenTable
Customization Options:
- Hide/show title "Make a Reservation"
- Toggle icons in dropdown menus
- Remove OpenTable logo
- Adjust fonts through Site Styles > Fonts > Headings
- Modify colors via Site Styles > Colors
Best Practices:
- Add only one OpenTable block per page
- Place on homepage, footer, or dedicated booking page
- For multiple restaurants, create separate pages for each location
- Preview block in private browsing mode if not displaying correctly
Styling Tips:
- Background color automatically adjusts text contrast
- Heading fonts follow H3 styling
- Colors match your site's theme
- Block responsively adapts to mobile devices
For restaurants outside supported countries, consider using:
- Button block linking to OpenTable page
- OpenTable's embed code in a Code block
- Direct hyperlink to your OpenTable listing
Note: Reservations may be subject to OpenTable fees. Contact OpenTable support for details about pricing and terms.
Related Articles

How to Connect a Squarespace Domain to Google Sites: DNS Setup Guide

