Hide Your Site or Make it Public: Everything About Site Visibility
Use the Site Availability settings to control who can access your site. Choose between keeping it private, password-protected, public, or SSO-protected (Enterprise only).
Site Availability Options:
Public
- Visible to all visitors and search engines
- Allows e-commerce transactions
- Enables social media promotion
- Searchable through Google and Bing
- Best for live, ready-to-launch websites
Password Protected
- Requires visitors to enter a password
- Available for both trial and paid sites
- Ideal for restricted access
- Perfect for work-in-progress sites

Black silhouette of a standing person
Private
- Only accessible to site owners and collaborators
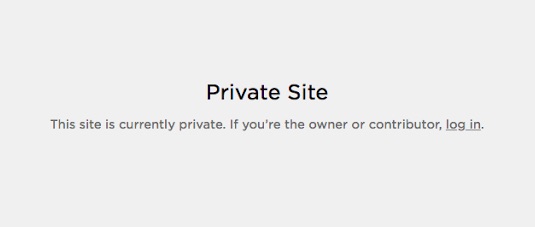
- Shows "Private Site" message to visitors
- Hides site from search engines
- Default setting for trial sites
- Best for sites under development

"Private Site" on a white background
SSO Protected (Enterprise Only)
- Requires authentication through apps like Okta, Azure, ClassLink, or Google
- Ideal for corporate sites
- Manages employee access securely
How to Change Site Availability:
- Open the "Site Availability" panel
- Select your preferred option
- Click Save
Additional Features:
- Hide specific pages while keeping others public
- Create an Under Construction page
- Opt in/out of Squarespace promotion
- Cancel or delete trial sites
- Use SEO tools to improve visibility when public
Before Publishing:
- Review the site launch checklist
- Configure SEO settings
- Test all functionality
- Ensure content is complete
- Set up payment processors if needed
Related Articles

Integrate Pinterest with Squarespace: Your Complete Guide to Connection and Features

