How to Send & Schedule Your Email Marketing Campaigns: A Complete Guide
Email Campaign Sending Guide
Before sending your campaign, ensure you have:
- Created at least one mailing list
- Set up sender details
- Prepared an email draft
- Verified your email address
- Verified your domain (if using custom email)
- Added a physical address to your website
Important Considerations:
- Campaigns won't send if you've exceeded monthly limits
- Time zone is based on your device settings
- New subscribers may need to confirm their subscription
- Individual campaign resending isn't possible
Setting Up Your Campaign:
- Add Essential Information:
- Go to Email Campaign dashboard > Drafts
- Click the pencil icon on your draft
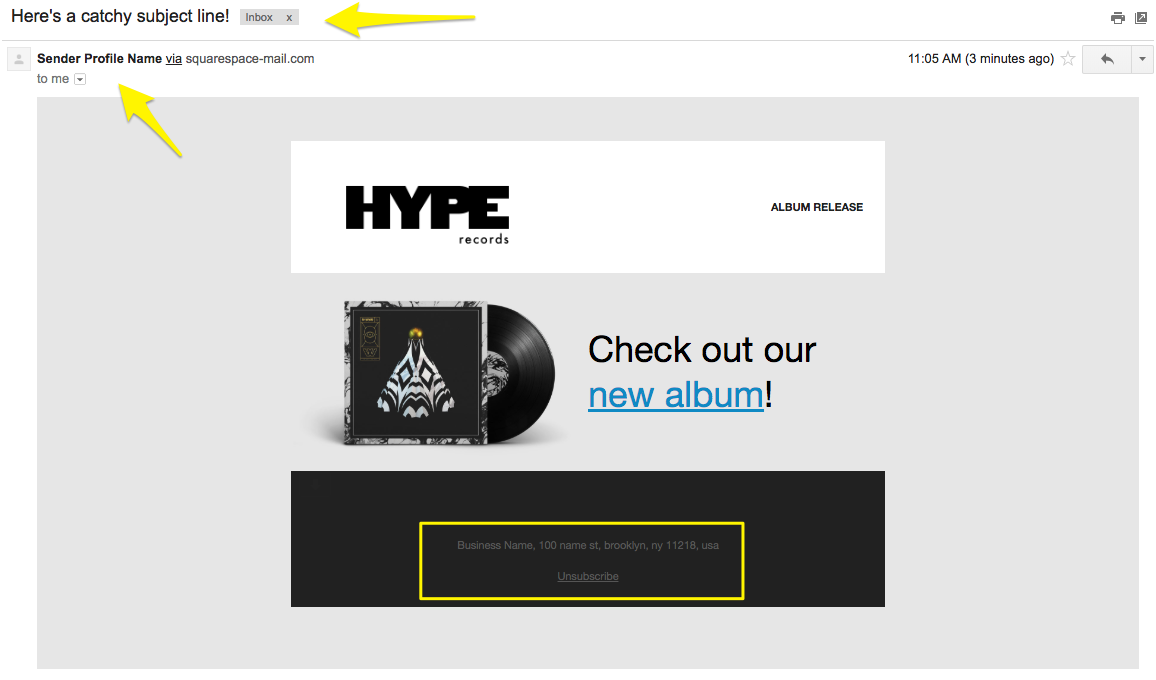
- Add compelling subject line and preview text
- Select recipients from mailing lists
- Choose sender details
- Include legal physical address

Vinyl record with decorative cover
- Test Your Campaign:
- Click "Send Test" to review
- Check all links and buttons
- Proofread content
- Verify image display
- Confirm unsubscribe link visibility
- Test on multiple devices
- Send or Schedule:
Immediate Sending:
- Click Schedule in sidebar
- Enable "Send Immediately"
- Click "Send to Recipients"
Scheduled Sending:
- Click Schedule in sidebar
- Disable "Send Immediately"
- Set date and time
- Click "Schedule Campaign"
Campaign Review:
- Some campaigns may be marked "Under Review"
- Review typically takes minutes, occasionally hours
- Campaigns send automatically after approval
Tracking Results:
- Monitor open rates and clicks in Email Campaign dashboard
- View detailed analytics in "Sent" section
- Compare with previous campaign performance
Note: Campaigns cannot be canceled or retracted after sending. For sending issues or delays, contact support directly instead of attempting to resend.
Related Articles

How to Add Email Subscriptions to Your Squarespace Blog

