Squarespace Appointment Booking Block: Integration Guide & Usage Instructions
The Appointment Booking block allows visitors to make reservations directly on your website through Acuity Scheduling integration.
Using With Squarespace:
- Add the block:
- Edit your page
- Click Add Block or insertion point
- Select Scheduling
- Click the pencil icon
- Choose your scheduling tool type
- Click Apply (for version 7.0)

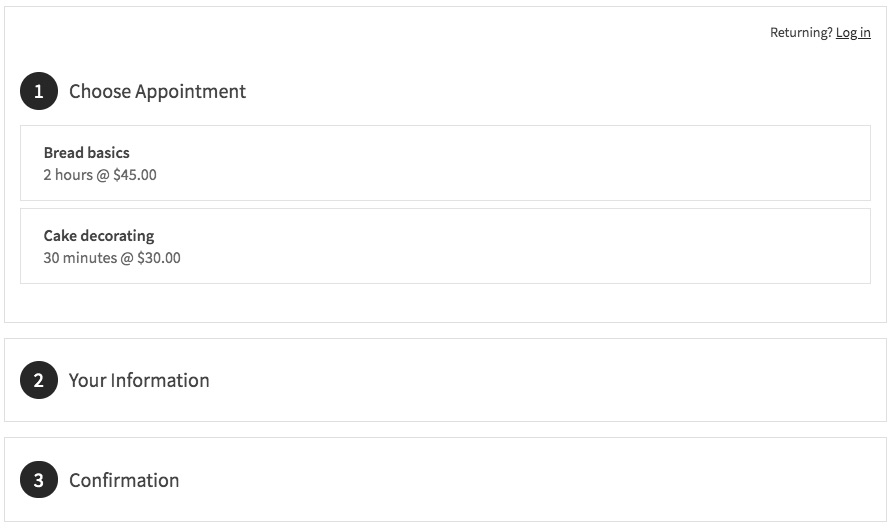
Booking Page with Options
Using Standalone Acuity:
- Get your calendar URL:
- Go to Link to Appointments Page in Acuity
- Copy the general scheduling link or specific calendar link
- Add to your site:
- Add Scheduling block
- Select Custom Link
- Paste your Acuity URL
- Click Apply
Editing Your Booking Block:
- Edit the page
- Click the block
- Click pencil icon
- Make changes
- Save
Security Options:
- Add page password protection
- Use member-only access
- Restrict booking to specific visitors
Customization:
- In Acuity:
- Click Customize Appearance
- Select Appointments Page Options
- Modify display settings
- Save changes
Important Notes:
- No Squarespace transaction fees apply
- Paid Acuity plan required for standalone embedding
- All Squarespace Acuity plans support the block
- "Powered by Acuity" text can be hidden in appearance settings
Related Points:
- Works with mailing lists
- Supports multiple appointment types
- Customizable appearance
- Can be password protected
- Integrates seamlessly with your site
The block provides a professional booking solution that maintains your site's look while offering convenient scheduling for your visitors.
Related Articles

How to Connect a Squarespace Domain to Google Sites: DNS Setup Guide

