Email Campaign Setup Guide: Configure Sender Details and Domain Verification
Sender details are essential components that appear in the From: line of your email campaigns. Here's how to set them up properly:
Before Starting
To ensure optimal email delivery and avoid spam filters:
- Use a custom email domain (e.g., [email protected]) instead of free email services
- Ensure all information is accurate to comply with CAN-SPAM Act
- Note that you can create up to 10 sender details but use only one at a time
Verification Requirements
Two types of verification are needed:
- Email Verification: Confirms your email address is valid
- Domain Verification: Proves ownership of your sending domain

Squarespace Mailbox
Step-by-Step Setup Process
- Create Sender Details:
- Access Email Campaign Settings
- Click "Sender Details" then "Add Sender"
- Enter sender name and email address
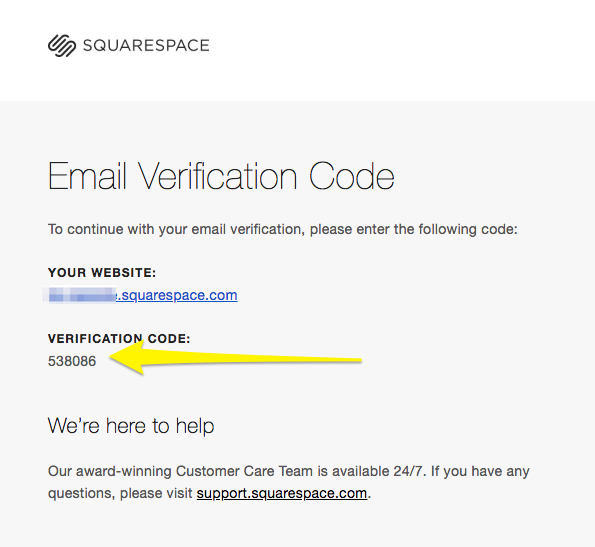
- Verify Email Address:
- Check your inbox for verification code
- Enter the code in the setup window
- Check spam folder if email isn't received

Email Verification Page Squarespace
- Verify Domain:
- Squarespace domains: Automatically verified
- Third-party domains: Require manual verification
- DMARC policy domains: Must be verified before use
Managing Sender Details
To Edit:
- Open Email Campaign Settings
- Click "..." next to sender details
- Edit name (email cannot be changed)
To Delete:
- Open Email Campaign Settings
- Click "..." next to sender details
- Select Delete and confirm
Important Notes
Free Email Services:
- Not recommended due to delivery issues
- Some providers (aol.com, yahoo.com, icloud.com) aren't supported
- Squarespace generates alternative addresses for Gmail users
Best Practices:
- Use custom domain emails for better delivery rates
- Register domains through Squarespace for automatic verification
- Add postal address when sending campaigns
- Keep sender information consistent and professional
Related Articles

How to Set Up and Grow Email Lists with Squarespace Forms

