How to Add an Acuity Scheduling Block to Your Website
Book appointments directly on your site using the Acuity Scheduling Block. This integration allows visitors to schedule sessions without leaving your website.
Adding a Scheduling Block:
- Edit your page
- Click Add Block or an insertion point
- Select "Scheduling"
- Click the pencil icon to edit
- Choose your desired scheduler type
- Click Apply (for version 7.0)

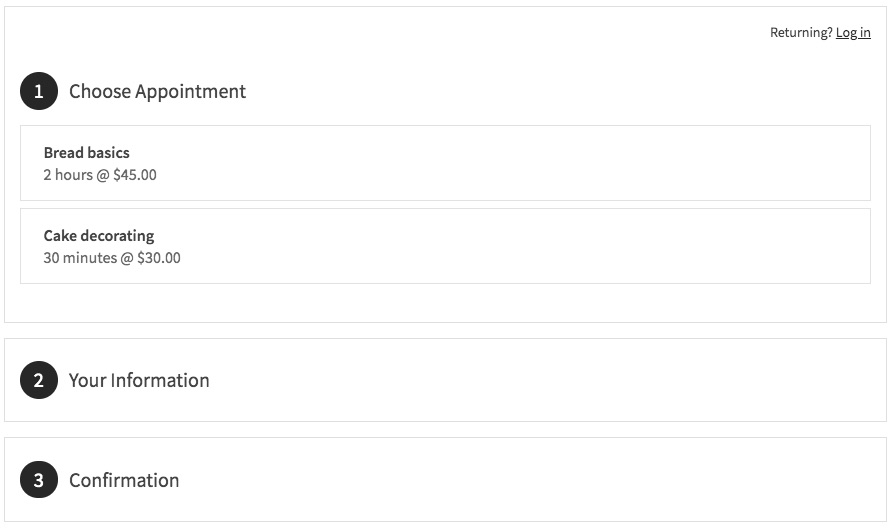
Appointment selection page
Using Standalone Acuity Scheduling:
- Copy your scheduler URL from Acuity account
- Add Scheduling Block to your page
- Choose "Custom Link" in the dropdown
- Paste your Acuity URL
- Click Apply
Customization Options:
- Modify design through Acuity's Customize Appearance panel
- Add page password protection for exclusive access
- Create members-only scheduling pages
- Hide "Powered by Acuity" branding
- Customize scheduler elements and appearance
Important Notes:
- Requires an Acuity account
- No Squarespace transaction fees
- Paid Acuity plan needed for embedded calendars (standalone accounts)
- All Squarespace Acuity plans support the scheduling block
To Edit Existing Blocks:
- Edit the page
- Click the scheduling block
- Click the pencil icon
- Make changes
- Save
For enhanced security, consider adding page passwords or restricting access to members only. This ensures only authorized visitors can book appointments through your scheduling system.
Related Articles

How to Connect a Squarespace Domain to Google Sites: DNS Setup Guide

