
How to Add Custom CSS Code in Squarespace Editor: Step-by-Step Guide
You can use CSS to customize your site's styling through the CSS Editor. Follow these simple steps:
Adding CSS Code:
- Open the Custom CSS panel
- Click "Open in New Window" for expanded view (optional)
- Add your CSS code
- Click Save to publish changes
The editor shows line numbers on the left and flags syntax errors in red at the bottom.
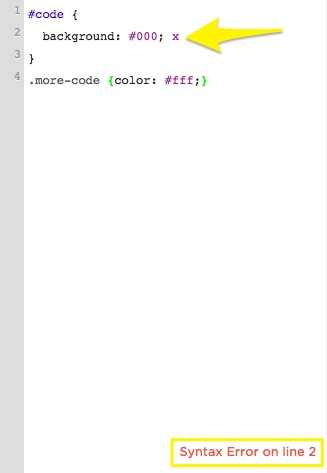
Code syntax error in editor
Working with Custom Files:
- Click "Custom Files" (or "Manage Custom Files" in v7.0)
- Upload by clicking "Add images or fonts" or drag files
- Supported file types:
- Images: .jpg, .png, .gif
- Fonts: .ttf, .otf, .woff
- Note: .svg files not supported
Using Custom Files in CSS:
- Write your code until you need the file URL
- Place cursor where URL should go
- Click the uploaded file to insert its URL automatically
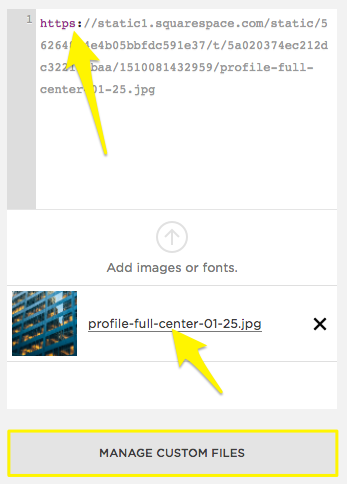
Yellow arrows indicate text field
Important Notes:
- CSS should only modify fonts, colors, and backgrounds
- Custom CSS doesn't transfer between templates in v7.0
- If using SSL, ensure file URLs start with https
- Test your code thoroughly to avoid potential site issues
For best results, consider consulting the Squarespace Forum or hiring a Squarespace Expert for complex customizations.
Related Articles

Fonts Discontinued: Important Updates to Available Font Catalog