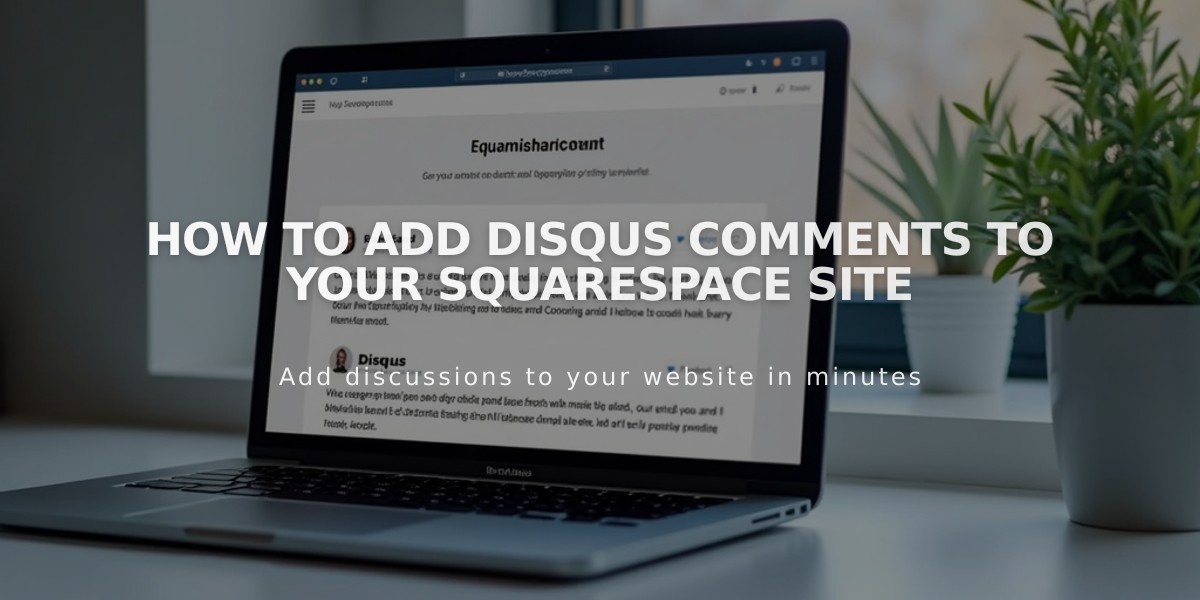
How to Add Disqus Comments to Your Squarespace Site
Disqus comments offer enhanced commenting features like threaded conversations and image comments for your blog, replacing Squarespace's default system. Here's how to set it up properly:
Important Note: Comments are URL-specific. Use a consistent URL (preferably the secure HTTPS version of your primary domain) to ensure all visitors can see the same comments.
Creating Your Disqus Shortname:
- Log in to Disqus
- Click "Add Disqus to Site"
- Click "Get Started"
- Select "I want to install Disqus on my site"
- Enter your website name (this becomes your shortname)
- Choose a category
- Click "Create Site"
- Select a plan
- Choose Squarespace
- Copy your Disqus shortname
Setting Up on Squarespace:
- Open your blog settings panel
- Enter your Disqus shortname
- Click Save
- Go to Comment Settings
- Enable all comments
- Save changes
Enabling Comments:
- Verify comments are enabled for individual posts
- Users must log in via Disqus, Facebook, Twitter, or Google to comment
- Customize appearance through Disqus settings
Troubleshooting Common Issues:
- If comments don't appear, verify:
- You created a Website account (not User account)
- Shortname is correctly added in blog settings
- URL matches the one in your Disqus account
- Template doesn't use Ajax loading
Important Considerations:
- Previous Squarespace comments won't transfer to Disqus
- Comments only appear on the URL registered with Disqus
- Add your secure domain (https) as a trusted domain in Disqus
For technical support with Disqus features, refer to Disqus documentation or contact their support team directly.
Related Articles

How to Connect a Squarespace Domain to Your Website: Step-by-Step Guide