How to Build Your First Squarespace Website: A Step-by-Step Guide
Squarespace site creation begins with building your site's structure through the Pages panel. Add pages to your main navigation to create a clear path for visitors to explore your content, make purchases, or contact you.
To add pages:
- Open Pages panel and click + next to Main Navigation
- Choose a page type or select from Page Designs
- Enter page title and press Enter
- Set your preferred page as homepage
Edit your site header to include:
- Title or logo
- Social media icons
- Call-to-action button
- Shopping cart icon
Mountain range by the lake
Add content through:
- Blocks: Drag and drop text, images, buttons
- Collections: Blog posts, products, events
To add blocks:
- Open Pages panel
- Select your page
- Click Edit
- Click + to add section (if needed)
- Choose and add blocks
- Save changes
For collections like blogs:
- Add Blog Page
- Click + to create posts
- Add title and content
- Click Publish
For online stores:
- Add products
- Connect payment processor
- Set up shipping
- Configure taxes
- Customize checkout
Blue circle with white text
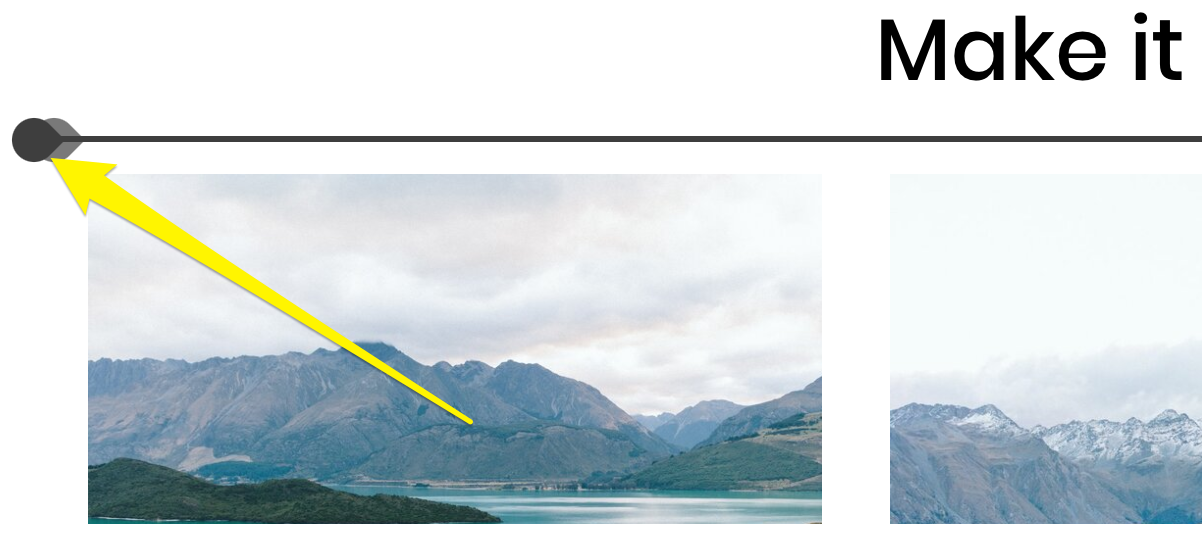
Style your site:
- Open Site Styles
- Customize:
- Fonts
- Colors
- Animations
- Spacing
For individual sections:
- Open Pages panel
- Click Edit
- Hover over section
- Click pencil icon
- Adjust styles
- Save changes
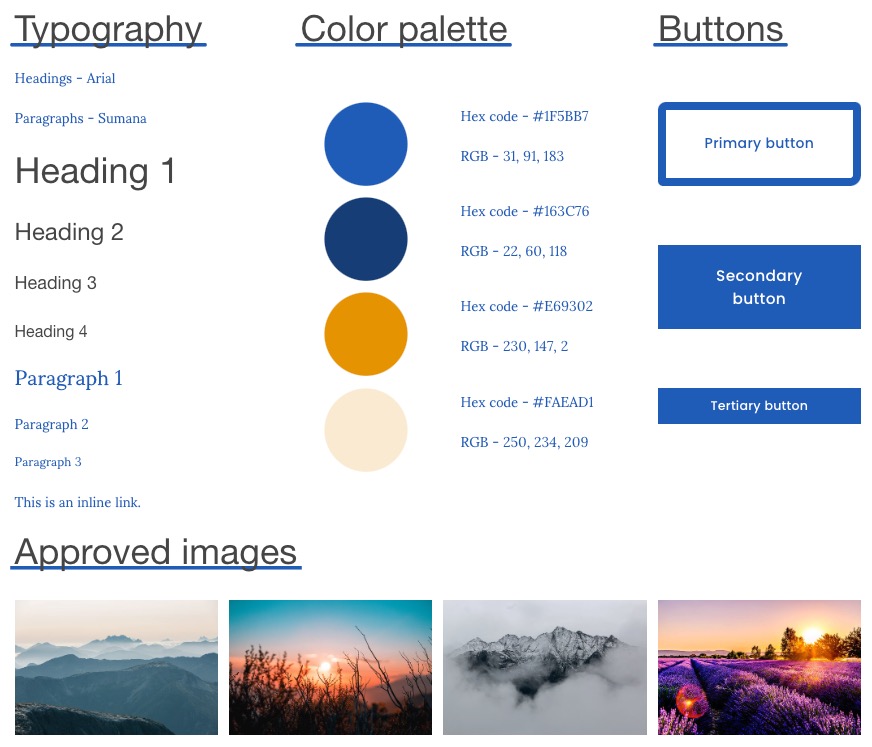
Create a style guide for:
- Colors
- Typography
- Logo guidelines
- Design elements
- Image standards
- Editorial rules
Before launch:
- Review site launch checklist
- Upgrade to paid plan
- Click Subscribe in bottom banner
Your site is now ready for visitors and search engines.
Related Articles
How to Connect a Squarespace Domain to Your Website: Step-by-Step Guide