Send and Schedule Email Marketing Campaigns
Before sending a campaign, first ensure you have a mailing list, sender information, and email draft ready. Authentication of your email address and domain is recommended for optimal delivery.
Key Prerequisites:
- Authenticated email address
- Domain authentication (if using custom email)
- Valid physical address
- Sufficient monthly campaign and subscriber limits
Step 1: Configure Email Information
- Access "Drafts" in the email campaign dashboard
- Click the pencil icon to edit your draft
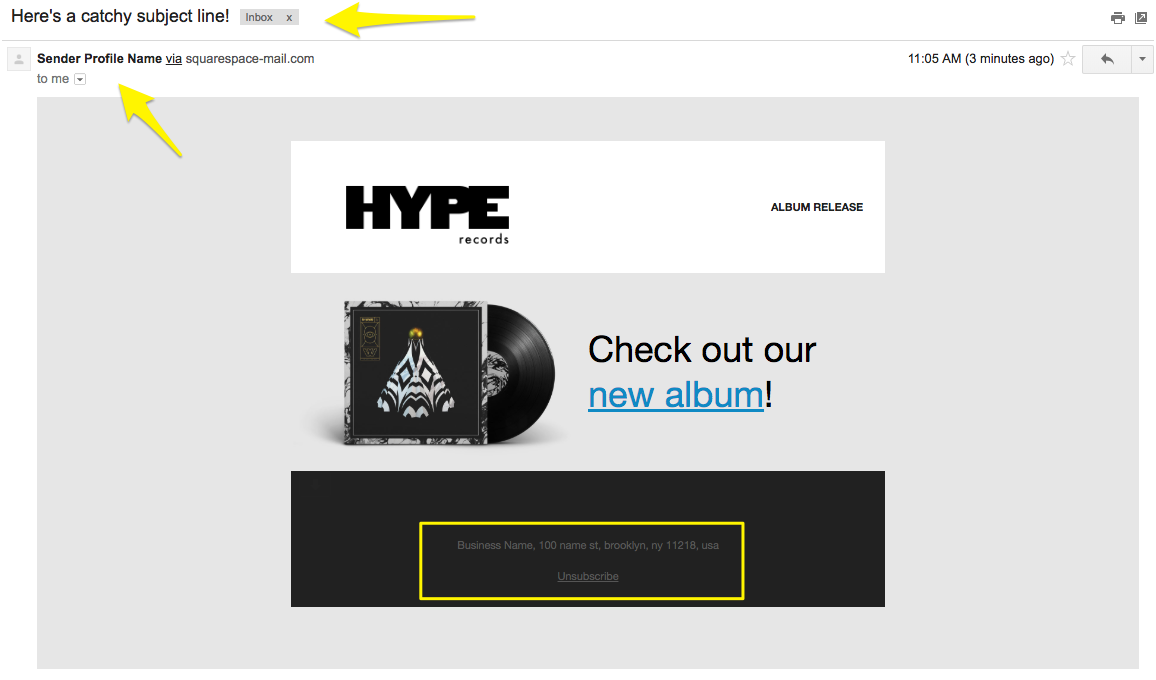
- Add compelling subject line and preview text
- Select recipients through "Unique Recipients"
- Set sender information
- Verify legal address in footer

Zebra Pattern Record Jacket
Step 2: Send Test Email
- Click "Send Test" at bottom of editor
- Verify all links and buttons
- Check for typos and formatting
- Confirm image display
- Test on multiple devices
- Verify unsubscribe link functionality
Step 3: Send or Schedule Campaign
To Send Immediately:
- Click "Schedule" in side panel
- Enable "Send Now" toggle
- Click "Send to Recipients"
To Schedule:
- Click "Schedule" in side panel
- Disable "Send Now" toggle
- Select date and time
- Click "Schedule Email Campaign"
Campaign Review Process
- Some campaigns may show "Under Review"
- Review typically takes minutes but can extend to hours
- Campaigns automatically send after approval
Tracking Results
- Monitor opens, clicks, and delivery rates in dashboard
- Access detailed analytics in "Sent" section
- Compare with previous campaign performance
Important Notes:
- Sent campaigns cannot be undone or canceled
- Contact support if sending issues occur
- Avoid resending campaigns to prevent duplicates
- Scheduled campaigns follow your device's time zone
- New subscribers may need to confirm before receiving campaigns
Related Articles

How to Set Up and Grow Email Lists with Squarespace Forms

